AeroPress coffee is unique because of its inverted brew method, allowing the grounds to steep longer. Here’s how to make AeroPress coffee. Including pour and plunge (original) and inverted. Plus temperature and grind tips.
This guide is part of our How to Make Coffee series.

How to Make AeroPress Coffee
- Time to first sip: About 60 seconds after heating your water
- Type of Coffee: Clean, clear, smooth, and rich
- Coffee grind: A coarse or fine grind can be used (depending on your preference).
- Gear required: AeroPress kit, kettle, and optional coffee grinder
- Difficulty: Super easy
AeroPress Coffee Tips: Drizzle a small amount of warm water over the filter before plunging.
AeroPress has many fans among coffee lovers. This is because of its simple function for delicious coffee. It is pretty inexpensive.
AeroPress is a good option for camping coffee because it doesn’t require electricity or complex machinery.
The AeroPress kit comes with several accessories, but don’t let that scare you. It’s one of the easiest and fastest methods of how to make coffee.
In fact, it’s pretty much just pour and push after heating your water.

AeroPress Coffee Recipe
- Assemble the AeroPress
- Heat the water
- Wet the filter
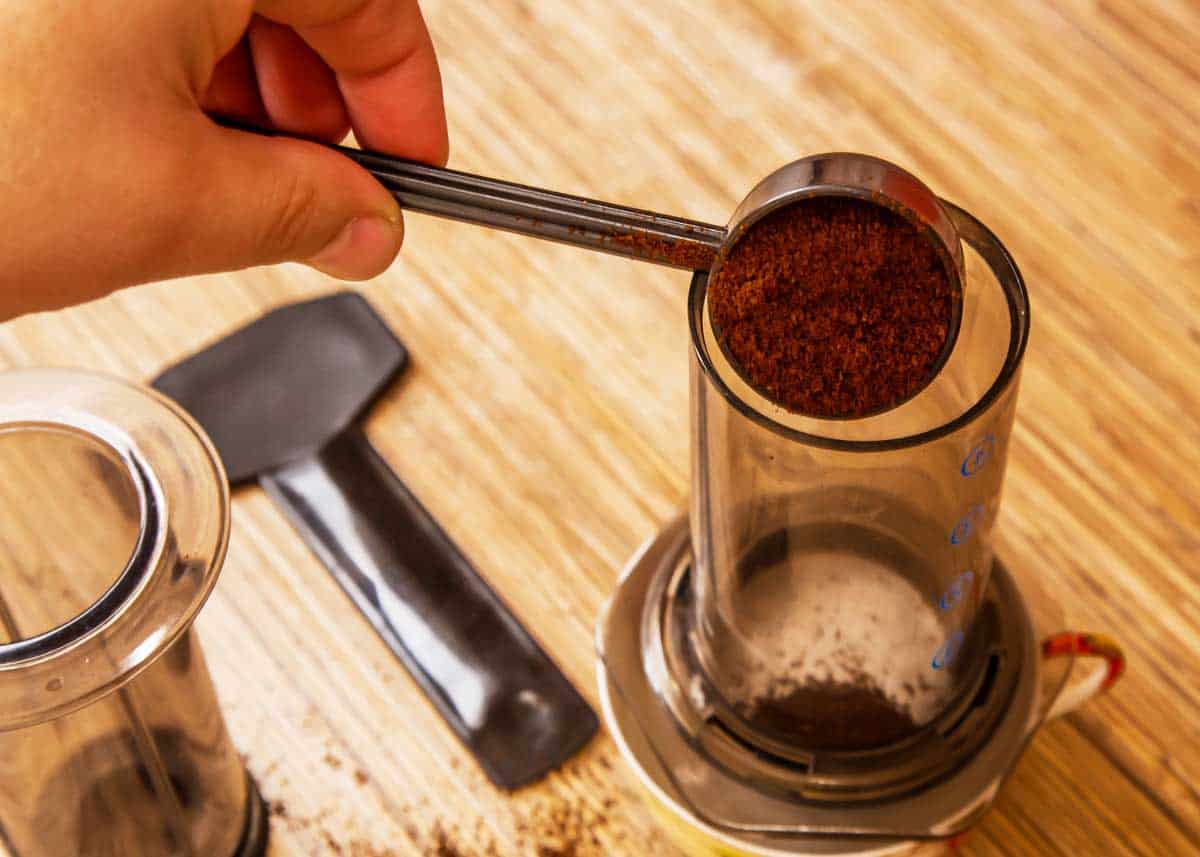
- Add coffee.
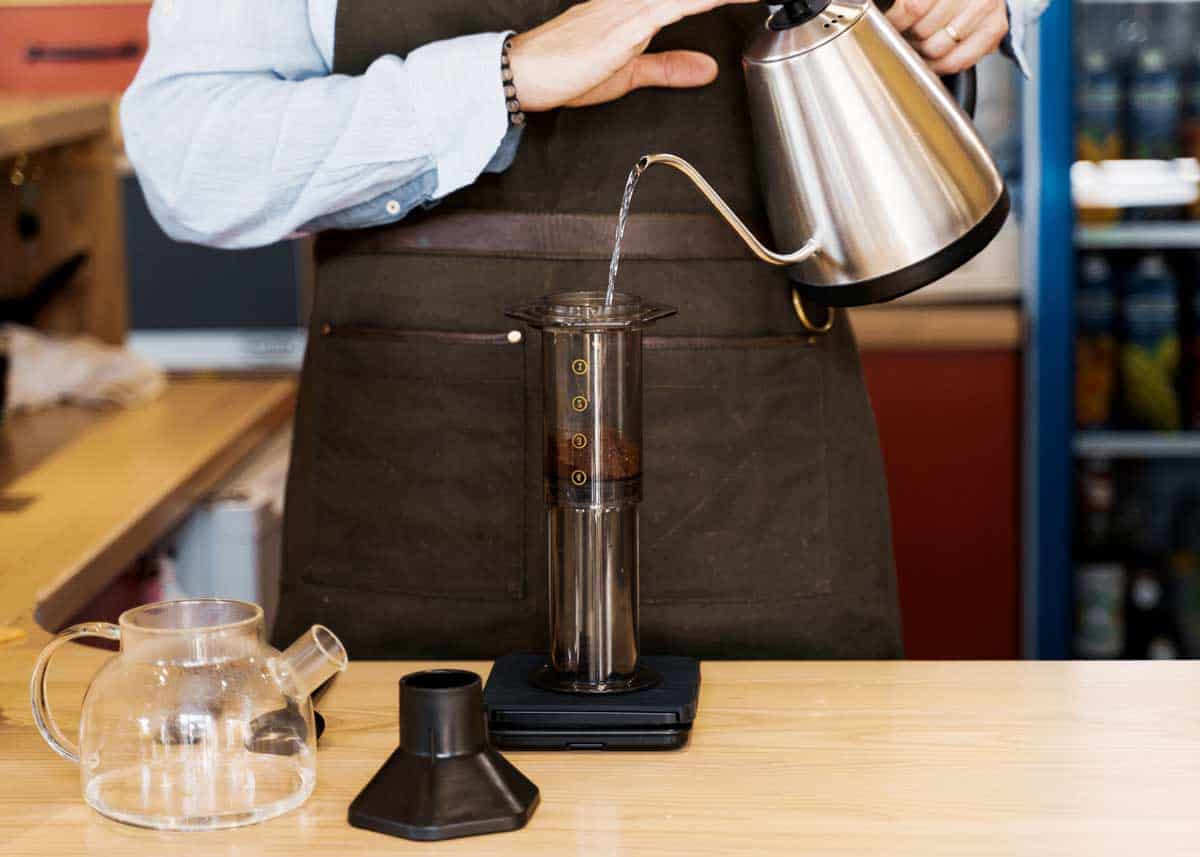
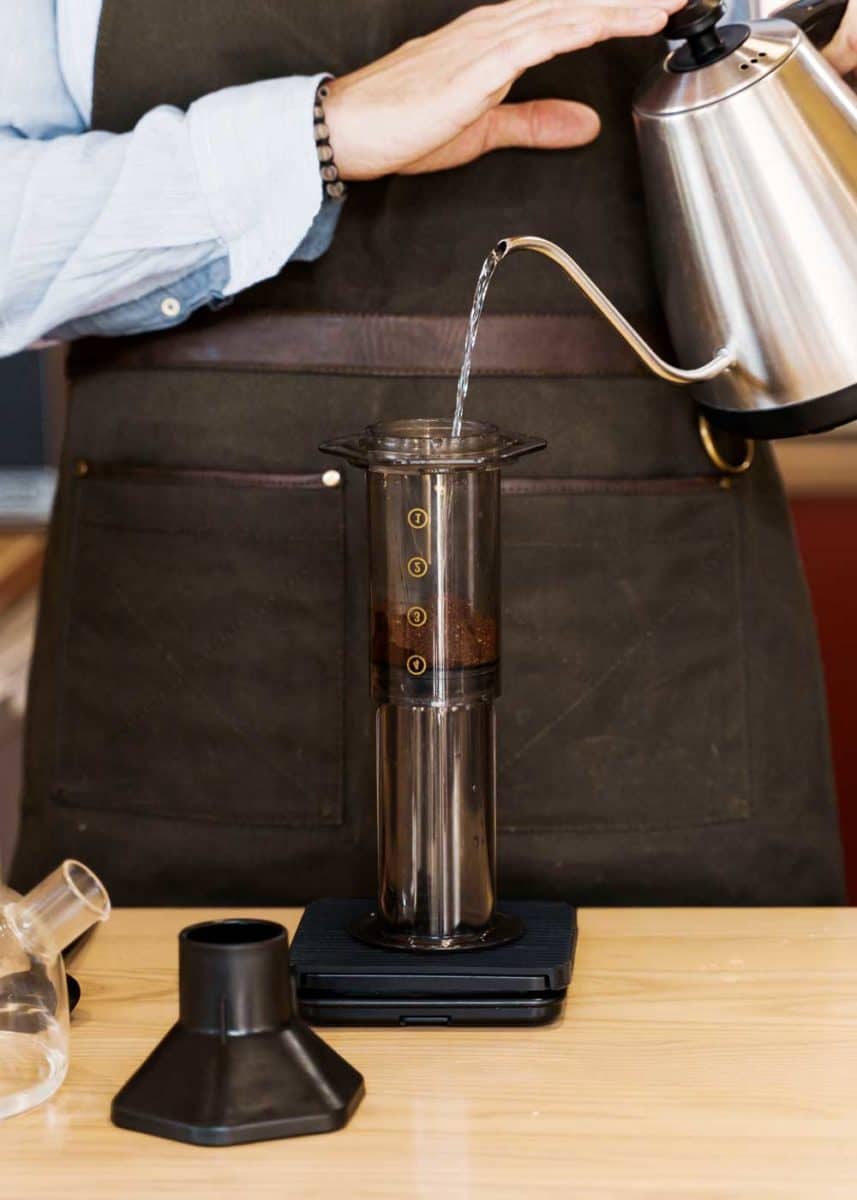
- Add the hot water
- Stir and Steep (1 Minute)
- Press to brew
- Taste and dilute as needed.
1. Assemble the AeroPress
Assemble the AeroPress, making sure to have all necessary parts within reach.
2. Heat the water
Using a kettle (stovetop or electric), you want to make sure that the water is hot enough but not too hot because this can affect the taste of your coffee.
The ideal temperature is 175°F (80°C) according to AeroPress.
If this sounds cooler than you expected, that’s because it is. For most coffee brewing, you will want it to be hotter than this. Around 200°F ± 5° (93.0°C ± 3°), according to SCA.
Bring the water to a boil and let it sit for about 30 seconds.
You can use some of this water to preheat your AeroPress and pre-moisten your paper filter if you like. Don’t forget to discard that water before you add the coffee.
3. Wet the filter
4. Add coffee
Add 1-2 heaping tablespoons of medium-fine ground coffee to the brew chamber. The amount of coffee grounds depends on how much you’re making and strength preference.
The best grind for AeroPress? According to them, “The best grind size to use with an AeroPress coffee maker is between drip grind and espresso grind. We call this a medium-fine grind size. A medium-fine grind size prevents most drip through while not being too difficult to press through.”
5. Add the hot water
Add the hot water to the fill line.
6. Stir once
Give it a brief stir with the paddle or a spoon.
- Stir for 10 to 30 seconds for hot brew
- Stir for 1 minute (briskly) for cold brew
No steeping is required. Adjust the time frame depending on your personal taste preference.
7. Press
Insert the plunger. Press firmly until you hear the long hiss sound.
Place your glass or mug on top of the brew chamber and holding firmly to the mug with one hand and the AeroPress with the other – flip it over so that the mug is on the counter with the AeroPress on top.
Apply even pressure to the plunger pressing down firmly until you hear a long hissing sound.
8. Taste and dilute as needed
The AeroPress produces concentrated coffee, so you might want to dilute it and make it into two cups of coffee.
Just add a little hot water. This will make the AeroPress equivalent of an Americano.
You can also assemble the AeroPress upside down.
What is AeroPress Coffee Like?
At first, the AeroPress might seem similar to a French press. But because of the pressure involved in the brewing process, it’s more like an espresso machine.
How to use an AeroPress (Video)
The following video will show how to brew coffee in the AeroPress as described above.
That’s all there is to using the AeroPress!

Your Turn
Have you used an AeroPress? How did it go for you? Have a trick to share? I would love to hear what’s working for you.
- About the Author
- Latest Posts
Dena Haines is a co-founder and blogger on EnjoyJava – and is working to make it the best coffee blog in the world.
She also blogs about travel at Storyteller.Travel and photography at Storyteller Tech. Dena is a partner at Storyteller Media, a publishing company she started with her husband, Bryan.
